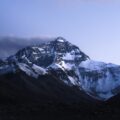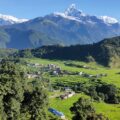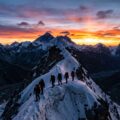
The Everest Base Camp (EBC) Trek is more than a vacation; it’s a pilgrimage for adventurers. The journey to the foot of the world’s highest mountain is a profound experience, offering breathtaking landscapes, rich Sherpa culture, and an immense sense of personal achievement. However, this iconic trek is also a significant physical challenge that demands serious preparation. The trail weaves through rugged Himalayan terrain, involves long days of walking, and, most critically, ascends to altitudes where the air is thin and every step requires effort.
Proper training is the single most important factor in determining not only whether you succeed in reaching Base Camp, but also whether you enjoy the journey along the way. This comprehensive guide will provide you with a detailed, step-by-step Everest Base Camp trek training plan to ensure you are physically and mentally ready to take on this adventure of a lifetime.
Table of Contents
Understanding the Challenge: What Are You Really Training For?
The Four Pillars of EBC Fitness
Pillar 1: Cardiovascular Endurance
Pillar 2: Leg Strength & Muscular Endurance
Pillar 3: Mental Fortitude
Pillar 4: Trek-Specific Preparation
Building Your Everest Base Camp Trek Training Plan: A 4-Month Plan
Phase 1: Foundation Building (Months 1-2)
Phase 2: Intensity & Specificity (Months 3-4)
The Final 2 Weeks: Tapering and Final Prep
Essential Gear and How to Train With It
Nutrition and Hydration: Fueling for High Altitude
Acclimatization: The Non-Negotiable Key to Success
Conclusion: Your Journey Begins Now

Everest Base Camp Trek Training Plan
1. Understanding the Challenge: What Are You Really Training For?
Before lacing up your boots, it’s crucial to understand what the EBC trek entails. This isn’t a walk in the park; it’s a multi-day expedition at high altitude.
Duration: Typically 12-14 days of trekking.
Distance: Approximately 130 kilometers (80 miles) round trip.
Altitude: Ascending from 2,840 meters (9,318 ft) in Lukla to 5,364 meters (17,598 ft) at Base Camp, with acclimatization days spent at around 3,800-4,400 meters.
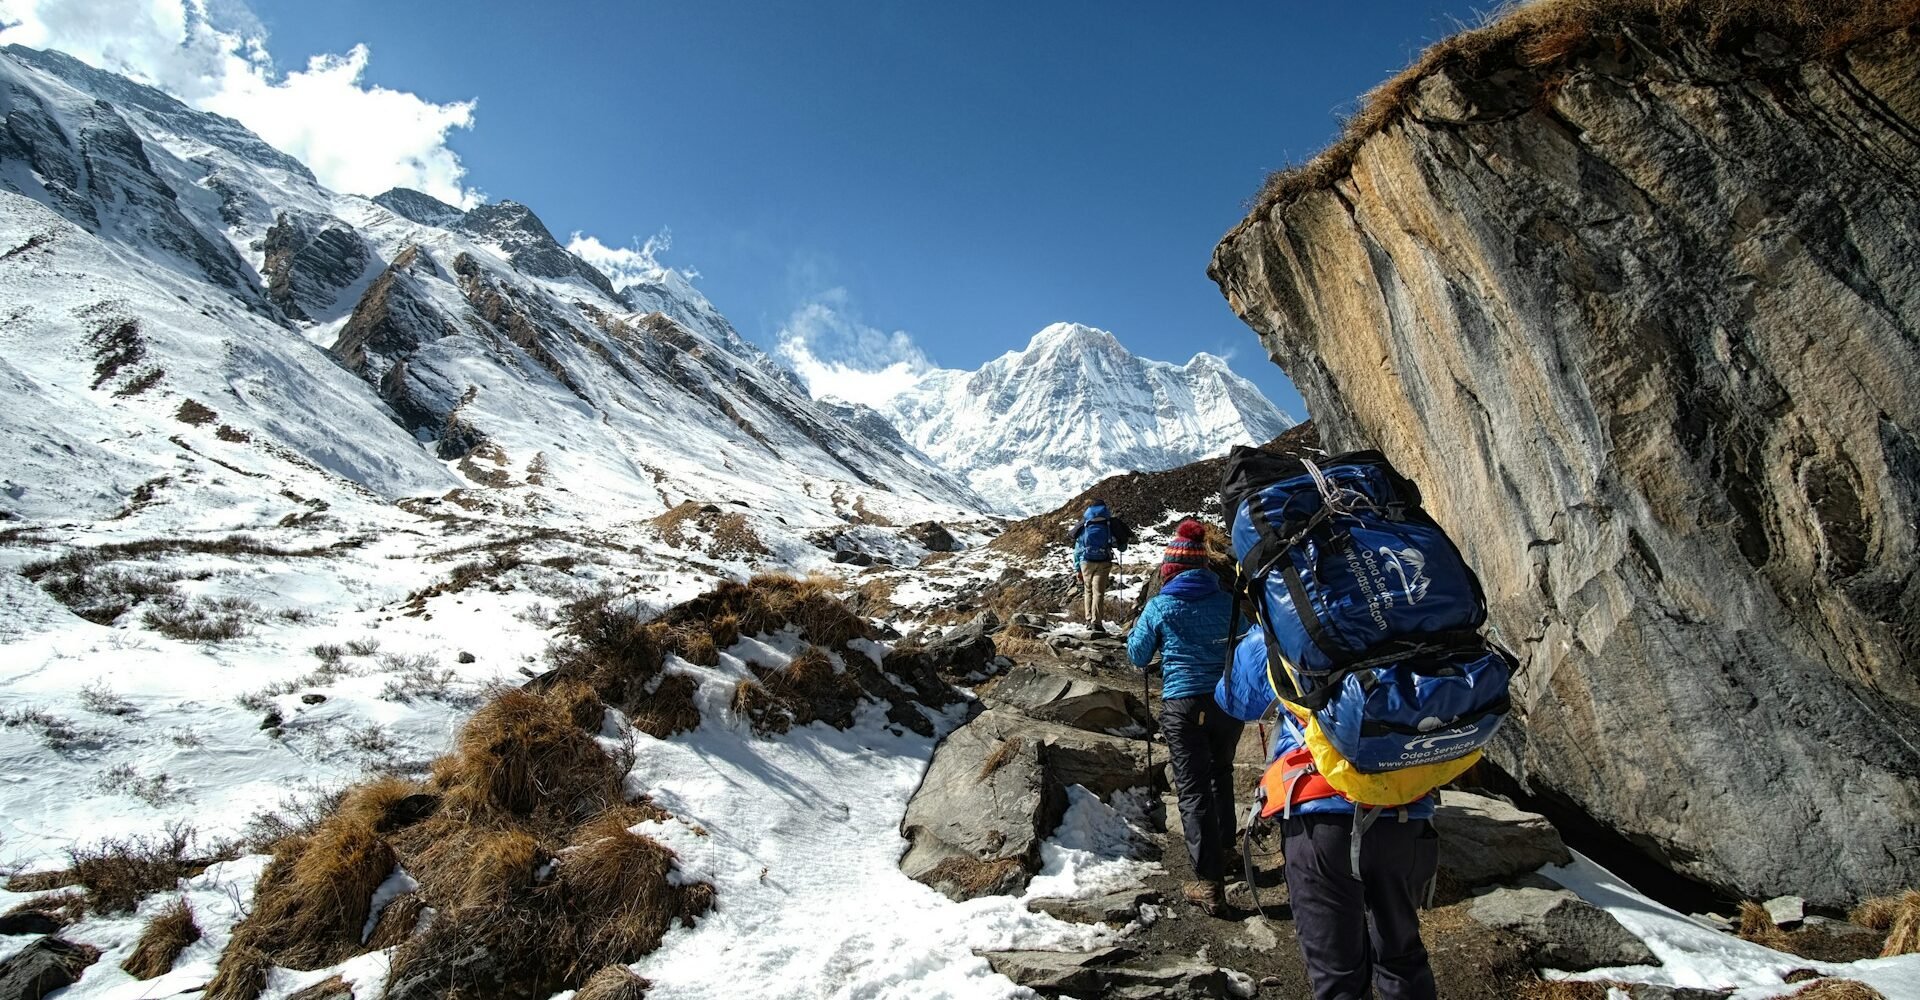
Terrain: A mix of well-maintained trails, rocky paths, steep ascents and descents, and suspension bridges. You will be climbing thousands of stone steps.
Daily Effort: Expect to walk for 4-8 hours per day, carrying a daypack.
The primary challenge is altitude. No amount of fitness can completely immunize you against Acute Mountain Sickness (AMS), but being physically fit reduces the strain on your body, aids sleep, and improves your chances of acclimatizing successfully. You are training to be strong enough that the physical exertion doesn’t compound the stress of the altitude.
2. The Four Pillars of EBC Fitness
Your training should be holistic, targeting four key areas.
Pillar 1: Cardiovascular Endurance
This is the foundation. Your heart and lungs need to be efficient at pumping oxygenated blood to your muscles, even as the oxygen levels drop.
Key Training Methods:
Running or Jogging: The most accessible form of cardio. Aim for 3-4 sessions per week, mixing steady-state runs (30-60 minutes at a conversational pace) with interval training (e.g., 1-minute sprints followed by 2-minute recovery walks).
Cycling: Either outdoors or on a stationary bike, cycling builds powerful quads and glutes while being low-impact.
Stair Climbing: This is trek-specific gold. Find a stadium, a tall building, or a hill with stairs and spend time going up and down. It mimics the relentless steps of the Namche Hill and the trail to Tengboche perfectly.
HIIT Workouts: High-Intensity Interval Training is excellent for building fitness when time is limited. It involves short bursts of all-out effort followed by brief recovery periods.
Goal: You should be comfortable with 60-90 minutes of continuous cardiovascular activity, 4-5 times a week, by the end of your training.
Pillar 2: Leg Strength & Muscular Endurance

You need strength not just for the uphill climbs, but perhaps more importantly, for the controlled, joint-pounding descents.
Key Exercises:
Bodyweight Squats & Lunges: The fundamentals. They build functional strength in your quads, glutes, and hamstrings.
Weighted Squats & Deadlifts: As you progress, add weight with a barbell or dumbbells to build raw strength.
Step-Ups: Using a bench or a high step, this exercise directly mimics the action of trekking. Add a backpack with weight for increased intensity.
Calf Raises: Essential for tackling all those stone steps without your calves seizing up.
Core Work: A strong core is your body’s powerhouse, stabilizing you on uneven terrain and reducing lower back fatigue. Planks, Russian twists, and leg raises are all excellent.
Sample Leg Day Routine (2-3 times per week):
Barbell Squats: 4 sets of 8-12 reps
Walking Lunges: 3 sets of 10-12 reps per leg
Romanian Deadlifts: 3 sets of 10-12 reps
Step-Ups: 3 sets of 15 reps per leg
Calf Raises: 4 sets of 20 reps
Plank: 3 sets, hold for 60 seconds
Pillar 3: Mental Fortitude
The mental challenge is often as tough as the physical one. You will have days where you are tired, cold, and questioning your decision.
How to Train Your Mind:
Embrace Discomfort: Your training should include sessions in less-than-ideal conditions (e.g., a hike in the rain). This teaches you that being uncomfortable is temporary and manageable.
Practice Mindfulness and Breathing: Learning to control your breath can calm your mind during steep, grueling sections. Apps like Headspace or Calm can be helpful.
Set Micro-Goals: On a long training hike, don’t think about the 20km total; just focus on getting to the next ridge or the next kilometer marker. This strategy is invaluable on trek.
Visualize Success: Picture yourself standing at Base Camp, looking up at the Khumbu Icefall. This positive mental imagery is a powerful motivator.
Pillar 4: Trek-Specific Preparation
This is where you tie everything together.
The Weekly Hike: This is non-negotiable. Nothing in the gym can fully replicate the demands of walking on natural, uneven terrain. Every weekend, you should be going for a long hike.
Wear Your Boots: Your hiking boots must be broken in. Wear them on every training hike to prevent blisters on the trek. Here is a great resource on how to break in hiking boots from REI.
Train with Your Pack: As you get closer to your trek date, start wearing your daypack on hikes. Gradually add weight until you are carrying the 5-7 kg (10-15 lbs) you expect to carry in Nepal.

Photo by Vitaly Gariev on Unsplash
3. Building Your Everest Base Camp trek Training Plan: A 4-Month Plan
This is a sample 16-week plan. Adjust it based on your starting fitness level.
Phase 1: Foundation Building (Months 1-2)
Focus: Building a base level of cardio and introducing strength work.
Monday: Rest or active recovery (light walk, stretching).
Tuesday: Cardio – 30-minute run/cycle at a steady pace.
Wednesday: Full-body strength training (focus on bodyweight and light weights).
Thursday: Cardio – 30-minute run/cycle, introducing 2-3 short intervals.
Friday: Rest.
Saturday: Long hike (2-4 hours) on gentle terrain. Wear your boots.
Sunday: Core workout and flexibility (yoga or full-body stretching).
Phase 2: Intensity & Specificity (Months 3-4)
Focus: Increasing intensity, building trek-specific strength, and simulating trek conditions.
Monday: Rest or active recovery.
Tuesday: Intense Cardio – 45-minute run/cycle with structured intervals (e.g., 5×3 minute hard efforts with 2-minute rests).
Wednesday: Heavy leg strength day (see sample routine above).
Thursday: Hill Repeats or Stair Climbing Session (45-60 minutes). Wear your pack with 5kg of weight.
Friday: Rest.
Saturday: Long, challenging hike (4-6 hours). Seek out hilly terrain with significant elevation gain/loss. Wear your boots and pack with 7kg of weight.
Sunday: Core workout and flexibility.
The Final 2 Weeks: Tapering and Final Prep
Tapering is critical. You are not building fitness in these two weeks; you are allowing your body to recover and store energy.
Reduce Volume: Cut your training volume by 50% in the second-to-last week and by 70% in the final week.
Maintain Intensity: Keep a few short, sharp sessions to stay “sharp” but avoid long, draining workouts.
Focus on Logistics: Finalize your gear, pack your bags, and get any last-minute items.
Rest and Sleep: Prioritize 8-9 hours of sleep per night.
4. Essential Gear and How to Train With It
Your gear can make or break your trek. Training with it is part of the preparation.
Boots: As mentioned, break them in thoroughly. They should be comfortable, waterproof, and provide ankle support.
Backpack: Use a quality daypack (20-30 liters) with a good hip belt. Train with it loaded.
Layering System: Understand how to use a base layer, insulating layer, and shell jacket. The layering guide from OutdoorGearLab is an excellent resource.
Trekking Poles: Highly recommended. They reduce impact on your knees by up to 25% on descents and provide stability. Practice using them on your training hikes.

Photo by Redmaz Pham on Unsplash
5. Nutrition and Hydration: Fueling for High Altitude
At altitude, your body works harder and your appetite may diminish, making nutrition crucial.
During Training: View your long hikes as a chance to practice your fueling strategy. Eat a small snack (energy bar, nuts, dried fruit) every 45-60 minutes and drink water consistently, not just when you’re thirsty.
On the Trek: The food in the tea houses is generally good and carb-heavy (dal bhat, pasta, potatoes). Eat well, even if you don’t feel like it. Hydration is your best defense against AMS. Aim for 3-4 liters of water per day. Consider using electrolyte tablets to replace salts lost through sweat.
6. Acclimatization: The Non-Negotiable Key to Success
Your training gets you to the Himalayas, but acclimatization gets you to Base Camp. This is why all good itineraries, like the ones we recommend, include rest days.
“Climb High, Sleep Low”: On acclimatization days (e.g., in Namche Bazaar and Dingboche), you will take a short hike to a higher elevation before descending back to sleep. This stimulates your body to acclimatize without overexposing it.
Listen to Your Body: Headache, nausea, dizziness, and loss of appetite are mild symptoms of AMS. Report them to your guide immediately. The only cure for worsening AMS is to descend.
Walk Slowly: This is the golden rule. You are not in a race. A pace where you can hold a conversation is ideal. Let the slow, steady Sherpas and yaks be your inspiration. Rushing is the fastest way to trigger AMS.
7. Conclusion: Your Journey Begins Now
Training plan for Everest Base Camp trek is a journey in itself. It requires dedication, consistency, and a clear vision of your goal. By committing to this training plan, you are not just preparing your body for a physical test; you are building the resilience and confidence needed to fully embrace one of the world’s greatest adventures.
The memories of the soaring peaks, the resonant prayer wheels, and the warmth of the Sherpa people will stay with you forever. Ensure your body is ready to absorb it all. The path to Base Camp starts not in Lukla, but on your local trail, in your gym, and on the stairs you climb today.
If you have any questions about the trek, training, or would like to discuss guided options to ensure a safe and enriching experience, please do not hesitate to get in touch. Our team of experienced guides is here to help you prepare for the journey of a lifetime.
Contact us today to start planning your Everest Base Camp adventure!